Since I discovered it's "existence" I am a huge fan of the ISS. If weather permits, I always go outside and follow it just with naked eye - every time I see it - even these days - I am still super fascinated.
Since I own a telescope and saw some of the photos of professionals such as Thierry Legault - I had that inner feeling that I should attempt to do the same.
At the beginning I used my Skywatcher 200/1000 newtonian scope on an eq5 mount - not ideal mount for this purpose but with a little practice it is feasible... Also for imaging a Canon 600D did the job. Was a bit confused which way to go, taking images or videos and use the frames.
I've tried both with mixed results, but I must say single RAW images proved to be the way forward if you use dslr. Unfortunately London does not treat me with too many clear skies, especially when ISS comes so the opportunities to practice are rare.
If you try and fail, well fear not, you're not alone :) It is a very challenging way of imaging a fast moving, very small object in the sky. Need lots of practice, accuracy and lots of patience. But when you nail it - well you'll be the happiest person on the globe at that very moment :D
Where to start?
This is the most important question of all for sure.
I would say these are the most important steps you need to do before you even thinking about pressing the dslr shutter release button:
- Most importantly download any of the smartphone apps (ISS detector for android and Sputnik for iOS), these apps will tell you the brightness of the station, where it is coming from (from UK always west or south west), the elevation (how high it climbs up in the sky), at what time and how long the whole event will last. Crucial to have these information!! If you use pc mostly, then open http://www.heavens-above.com/ or https://spotthestation.nasa.gov/ and it will tell you accurately the same info.
- Once you know when and where to look, do you setup as you would. The only difference is that you won't track the sky this time, you don't need polar alignment or such. Instead try to position you mount so, that you can track the path of the station the smoothest by moving the scope manually. Using the app on field and knowing the elevation of the ISS, it should be straight forward.
Mind that ISS is the closest when it passes nearly ahead!
- I always track the station MANUALLY. Yes by moving with hand. I'm sure this whole process could be motorized, some enthusiasts build their own equipment. Sadly I'm not a technical guy, definitely not some who does DIY too often, so I rather track ISS manually and do the rest with help of dedicated software.
- Finder scope and the main scope need to be aligned, so whatever you see in the finder should appear in you main scope. You do this first visually, than you insert your dslr and do the alignment again. At this point I should state, that I don't really look through the finder scope, I found it way to hard to keep ISS in the finder's FOV. Instead I rather stick with red dot finder / Telrad (I use Telrad), it proved to be a better and more efficient way to me. But you need to find out which way works for you the best.
- To set camera settings and focus, another crucial step. If one of this two is set incorrectly, all your frames will end up in the bin. Check the max brightness of the station (visual magnitude) and try to find something similarly bright on the night sky. I use normally whatever I can, Moon or planets. If non of these present, than find the brightest star, check it's brightness and do and estimate with you settings. On my 200/1000 with a 2x barlow inserted, at mag -3.0 (or near) - my settings were normally ISO 800 or 1600 with sutter at 1/1250 or the nearest up or down in your settings (on a Canon 600D). These settings only apply if you shoot RAW images. Video settings are slightly different.... best to do a few experiments on that, mind that you should use high shutter rate - otherwise ISS will trail like stars on long exposure shots, we don't want that.
Okey these are the main steps, if any of these above are set wrong - the punishment will come... probably that's why this task is so hard, very easy to do a small mistake and it's over. Few times I did all the setup required, few minutes before the pass I double checked sharpness ( to do so I changed shutter speed to see the star and focus on it). But I got busy checking the app and other stuff, so I simply forgot to put the shutter speed back to where it supposed to be set. I let you guess what happened afterward... angry me. :)
Tracking
Manual tracking is the way forward for most of us. If everything is dead accurately aligned, you start following ISS by looking through your finder / red dot finder / Telrad (any of these, whichever works for you the best). It will give you sweaty moments I can guarantee, but it is so much fun.
You don't need to worry about your camera, as long as ISS is in the FOV it will be recorded by your dslr. Some keeps pointing the scope a bit before the ISS on the sky and let ISS fly through the FOV - I personally always try to track it, so basically moving the scope with ISS.
You'll need a remote shutter release (cable preferably), set your dslr on continuous mode.
My Canon 600D isn't capable of reading images as quickly onto the SD card as higher end cameras. What happens is basically after taking 10(ish) shots, clicking will pause (camera needs time to write those photos onto the SD card) and it won't continue at least for a few more seconds. Than it starts again but soon it will need some time again because the RAW files are simply too big. My camera just can't keep up with the writing speed. It is really annoying, because you loose precious time when ISS is bright and close, but the camera keeps hesitating...
So probably that is the reason why I went down to another road, using planetary camera and a laptop - but that will be the subject of another blog post :)
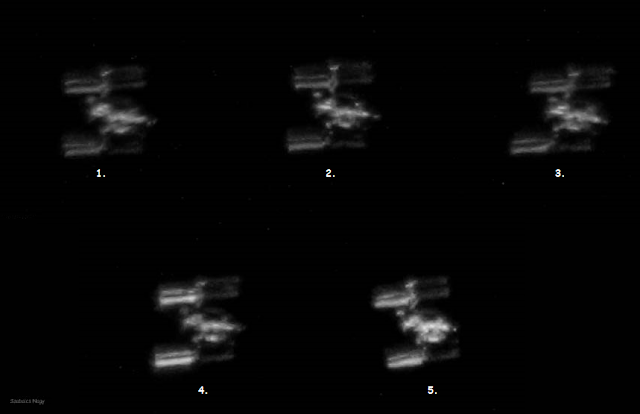
Here are some of the early photos I took. You'll see how my skills got better over the time. But I sill love one of my first shots which looks like a bunny on ski :D
Another way to photograph ISS is using the camera (dslr) and a wide(r) angle lens. Taking multiple shots set to 5/10/15/20/30 sec shots and layer them in Photoshop or GIMP.
Maybe a bit less challenging but with a nice background you can make a fantastic composite photo (see photos below).
Taking RAW images
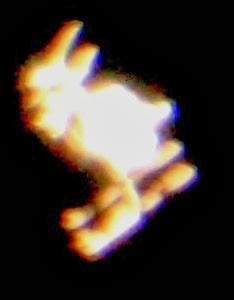 |
| My very first ISS image - the Rabbit :) (2013.06.08) |
 |
| Slow improvement after a few attempt |
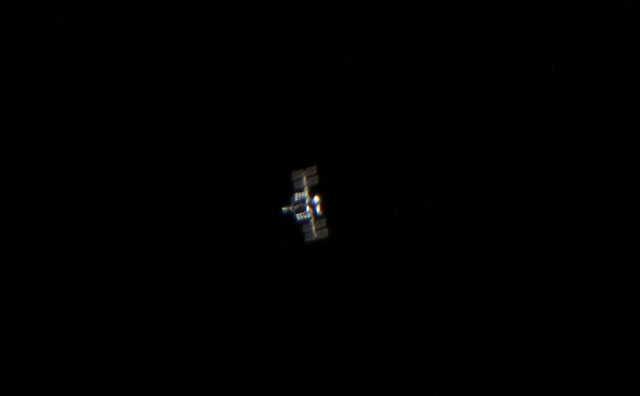 |
| One of my ISS shot using a Canon 600D (2014.10.19) |
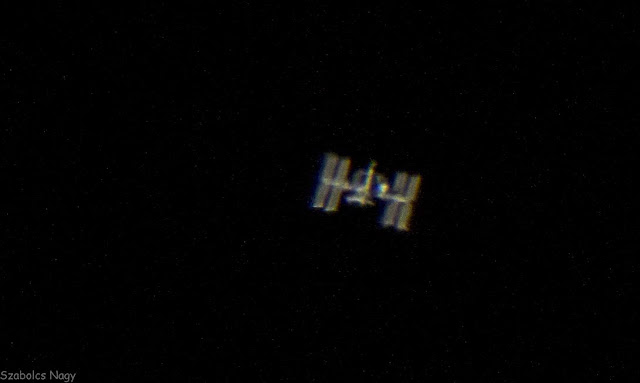 |
| Quite a few features visible - possibly a docked Progess too (2015.08.09) |
Composite photos
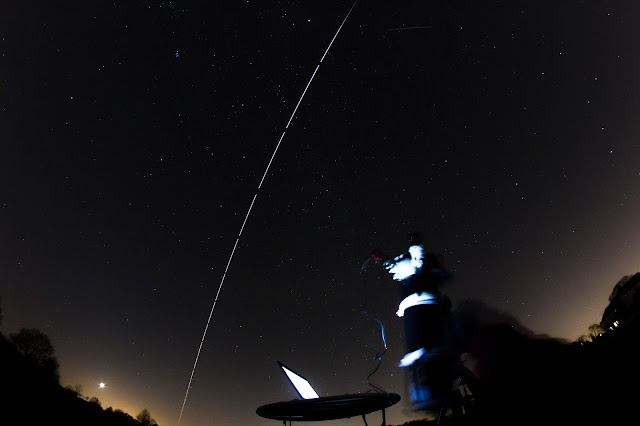 |
| Composite ISS over head pass whilst I was taking close up photos (2016.02.10) |
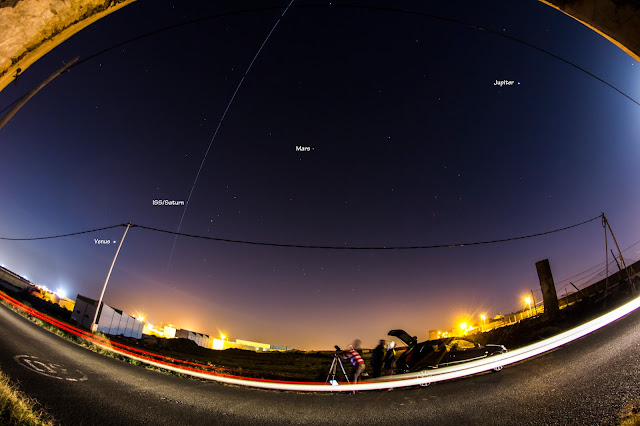 |
| ISS transiting Saturn - captured through an 8mm Samyang fisheye lens |
Photos
All my ISS photos are here
https://www.flickr.com/photos/metrolinaszabi/albums/72157649038551639/with/19818768563/
I am a big fan of your blog. i am so excited by read of your blog's content. really great post.
ReplyDeleteGopro Waterproof Camera